
Custom Files enables you to add your own files to the project. Basically, a custom file is a blank page with the layout of the project for you to add your own content so it will have a consistent look and feel like other generated files.
How to Use
To create a Custom File, simply right click the database pane or click Edit in the main menu, then select Add File, the following form will show:
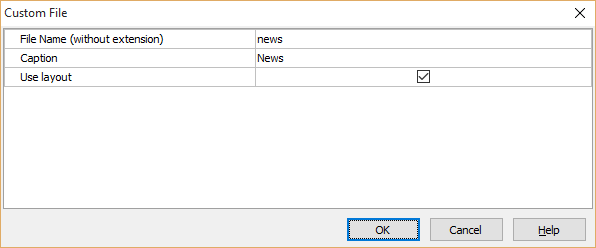
The properties are as follows:
| File Name (without extension) | File name WITHOUT extension. The generated script will be named as <FileName>.cs and <FileName>.cshtml. Notes
|
| Caption | The caption of the page. This is similar to table caption for a table and will be shown up in the menu and in the Breadcrumbs of the page. |
| Use layout | Specify whether to use _Layout.cshtml in the file so it will be consistent with other generated scripts. |
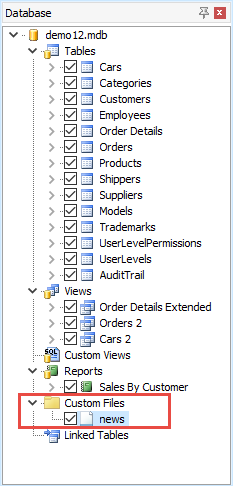
After entering above properties, click OK button to save. The Custom File will show up in the database pane under the Custom Files node:
To edit the Custom File properties, right click the Custom File in the database pane and select Edit File.
To delete a Custom File, right click the Custom File in the database pane and select Delete File.
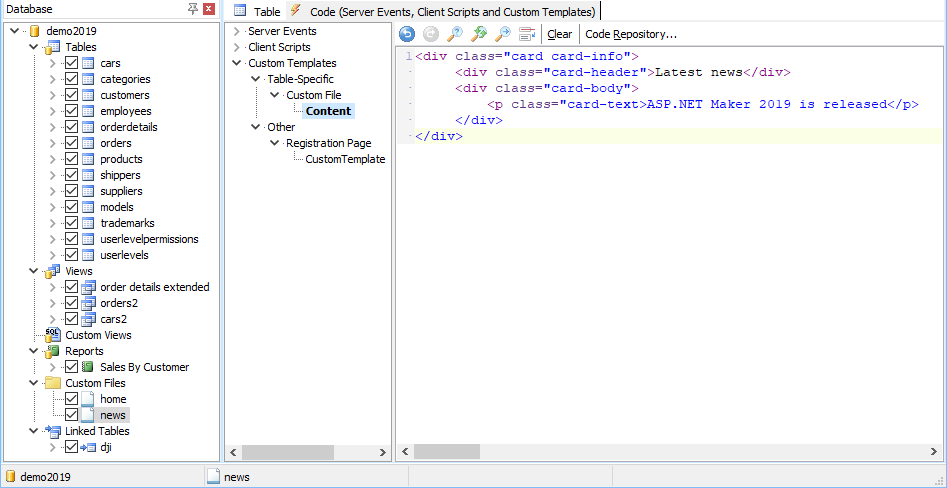
To enter content for the file, select the Custom File in the database pane , then select the Code tab (which contains Server Events, Client Scripts and Custom Templates) in the right pane.
Scroll down the treeview or collapse the Server Events and Client Scripts node, select the Custom Templates -> Table-Specific -> Custom File -> Content node, then you can enter or paste your content in the editor:
Then just save your project generate and run your scripts in your browser as usual.
Examples
Example 1 - Insert an external file instead of saving the page content in the project.
@await Html.PartialAsync("MyPage")
Example 2 - Add a Bootstrap 4 Cards in the page to show some news.
<div class="card card-info">
<div class="card-header">Latest news</div>
<div class="card-body">
<p class="card-text">ASP.NET Maker 2019 is released</p>
</div>
</div>
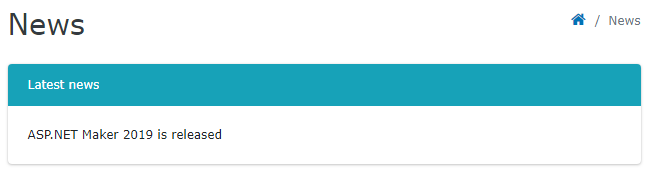
The result:
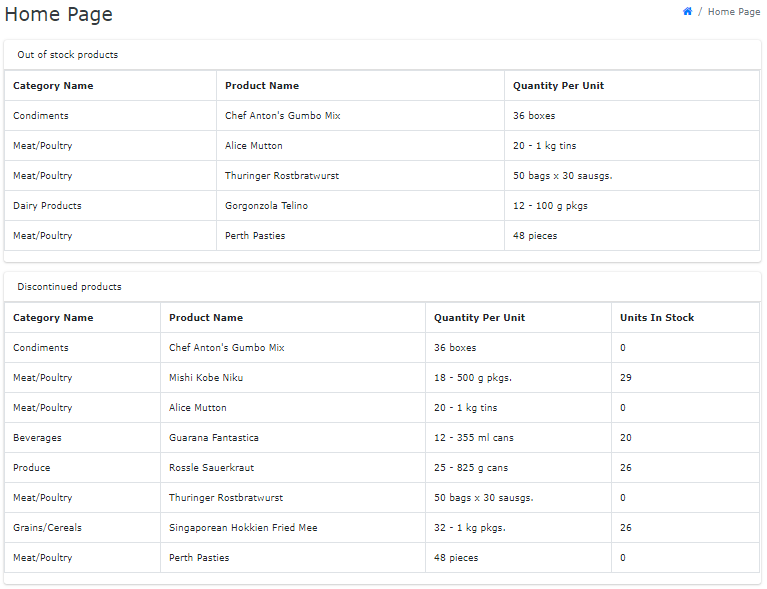
Example 3 - Add multiple Bootstrap Cards in the page as a dashboard page. Use database helper to execute SQLs and display data as HTML table.
<div class="card">
<div class="card-header">Out of stock products</div>
@{
var sql = "SELECT DISTINCT " +
"categories.CategoryName AS CategoryName," +
"products.ProductName AS ProductName," +
"products.QuantityPerUnit AS QuantityPerUnit" +
" FROM categories INNER JOIN products ON (categories.CategoryID = products.CategoryID)" +
" WHERE " +
"products.UnitsInStock <= 0";
var options = new Dictionary<string, object> {
{"fieldcaption", true},
{"tablename", new List<string> {"products", "categories"}}
};
}
@Html.Raw(await ExecuteHtmlAsync(sql, options)) @* Execute a SQL and show as HTML table *@
@* Use ExecuteHtmlAsync(sql, options, "<dbname>") if you want to connect to database of Linked Table *@
</div>
<div class="card">
<div class="card-header">Discontinued products</div>
@{
sql = "SELECT DISTINCT " +
"categories.CategoryName AS CategoryName," +
"products.ProductName AS ProductName," +
"products.QuantityPerUnit AS QuantityPerUnit," +
"products.UnitsInStock AS UnitsInStock" +
" FROM categories INNER JOIN products ON (categories.CategoryID = products.CategoryID)" +
" WHERE " +
"products.Discontinued = 1";
}
@Html.Raw(await ExecuteHtmlAsync(sql, options)) @* Execute a SQL and show as HTML table *@
</div>
The result:
Note Other than ExecuteHtmlAsync(), there are other useful methods, see Some Useful Methods and Properties.