
IMPORTANT NOTES
To prepare your Windows for developing Android apps, you must install all the components required to build and run the apps, including Java Development Kit (JDK) and Android Studio. Android Studio is the official Integrated Development Environment (IDE) for Android app development. The Android Studio is dependent on JDK (the JRE alone is not sufficient).
First of all, please read the following for Ionic Framework carefully:
Above articles contain important information, PLEASE DO NOT SKIP! They explains what you need to develop apps, including:
After reading and installing above, double check the follows. Note that the following is NOT a summary of above, it is important points that we must reiterate and further explain to make sure you set up correctly.
Install Java Development Kit (JDK) 8 or later.
Once you installed Android Studio, it's easy to keep the Android Studio IDE and Android SDK tools up to date with automatic updates and the Android SDK Manager. Read Update the IDE and SDK Tools for details.
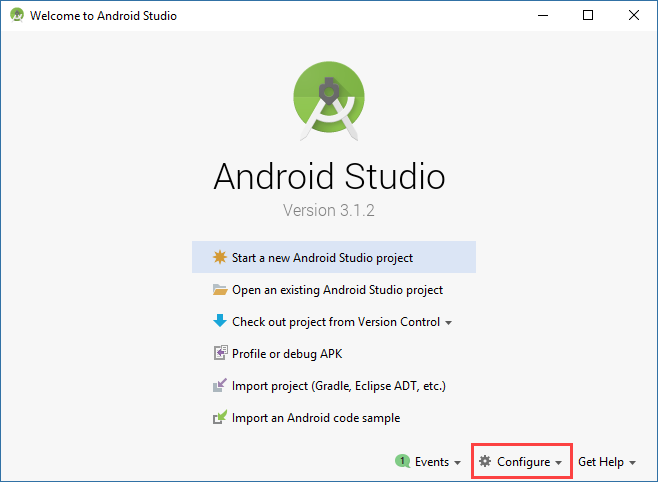
Open Android Studio, click Configure -> SDK Manager.
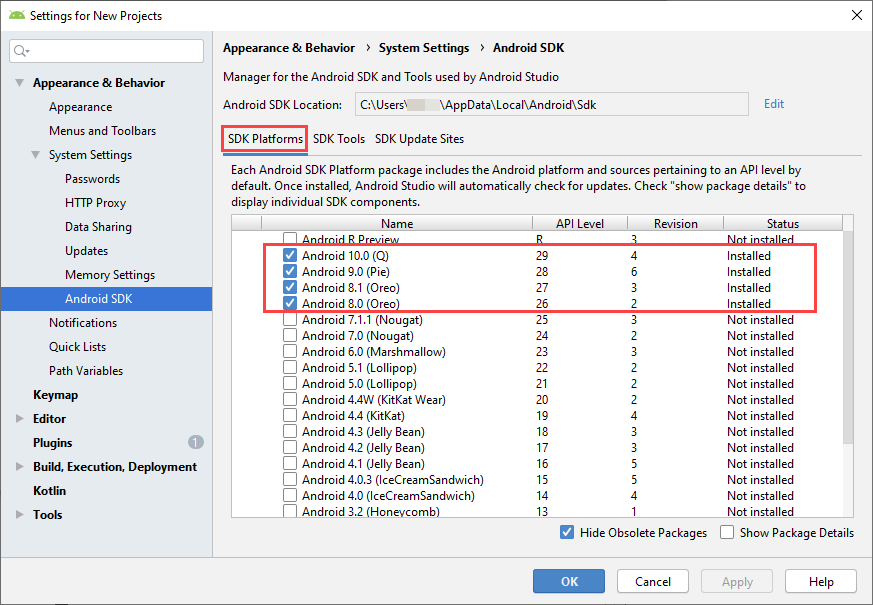
Go to SDK Platforms tab, select at least one Android SDK Platform packages you want to use, click Apply.
Go to the SDK Tools tab and make sure you have installed the following required tools:

Cordova's CLI tools require some environment variables to be set in order to function correctly, you may need to set them manually. The steps may vary depending on your installed version of Windows. Close and reopen any command prompt windows after making changes to see them reflected.

Read Environment variables for complete information.
To test the generated apps directly on an Android mobile device, you need to download and install the Google USB Driver, see Android SDK above. For more information about Google USB Driver, please read Get the Google USB Driver.
After installing the package, the files are downloaded and stored under the <android_sdk>\extras\google\usb_driver\ directory. The driver is not yet installed and you must perform the installation manually. (The <android_sdk> folder is usually C:\Users\<user>\AppData\Local\Android\Sdk, you can verify with your File Explorer.)
Using the SDK Manager helps you keep the driver up to date by notifying you when your current driver is out of date.
For installation information, read Install a USB Driver.
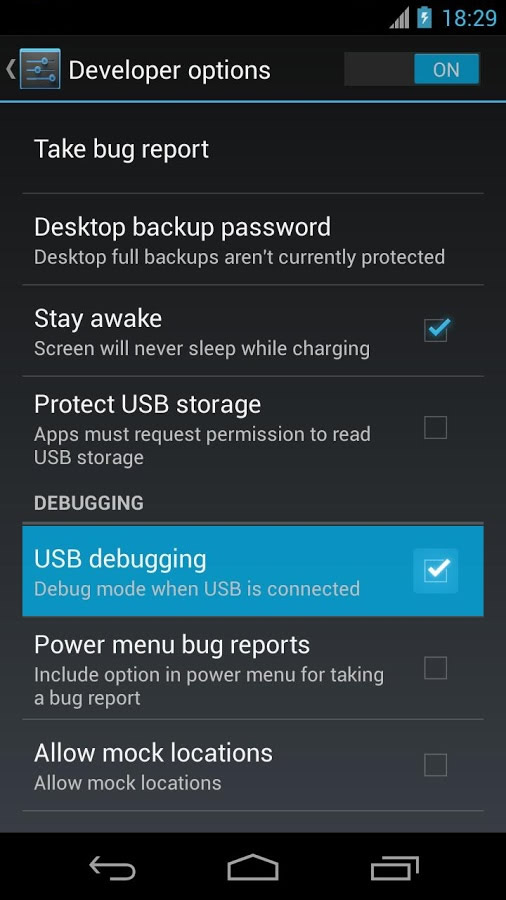
To make your mobile device detectable by Windows, it is important to enable USB debugging on your device. (See Using Hardware Devices for details.)
Important

After installing Android Studio and the Google USB Driver and making sure your device is detected, you can proceed to verify if the configuration is correct by creating and running your first Android Application directly on your mobile device. Follow the following tutorials and test:
Start a new app, it is recommended that you create it at where without permission considerations, e.g. D:\. From the command line or Windows PowerShell, enter:
ionic start myApp sidemenu --type=angular
(When you are asked about integrating your new app with Capacitor, enter N and press Enter.)
The the CLI will download and install many npm packages for the new app, this takes several minutes for the first time, please be patient and wait.
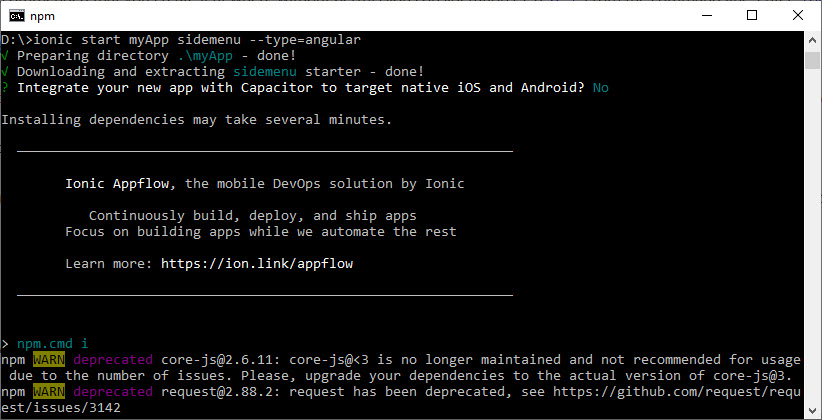
(After the download is done, you will be asked about creating free Ionic account, enter N and press Enter.)
Now you can use cd to change the current directory to the new project's folder:
cd myApp
To run the app on your Android device (make sure it is plugged in over USB and you can see it with adb devices as said above), run the following command one by one from the command line in the project's folder:
ionic cordova platform add android
ionic cordova run android --device
Ionic CLI will compile the app and run it on your Android device.
Again, the CLI will takes several minutes to complete this process for the first time, please be patient and wait.
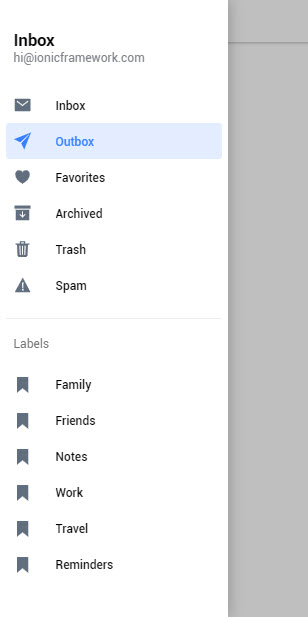
This empty app does not do anything other than demonstrating the side menu. However, if this app runs successfully on your device, congratulations, your development environment is now properly set up. You may proceed to create your first app from a database by following Quick Start.