Custom Files enables you to add your own files to the project. Basically, a custom file is a blank page with the layout of the project for you to add your own content so it will have a consistent look and feel like other generated files.
To create a Custom File, simply right click the database pane or click Edit in the main menu, then select Add File, the following form will show:
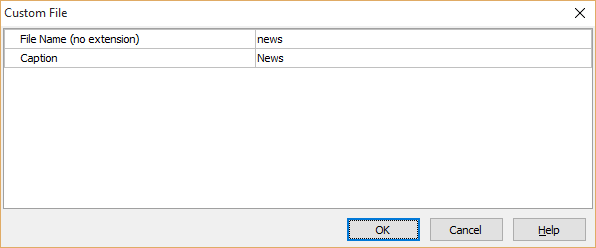
The properties are as follows:
| File Name | Alphanumerical file name without extension. Notes
|
| Caption | The caption of the page. This is similar to table caption for a table and will be shown up in the menu and in the title of the page. |
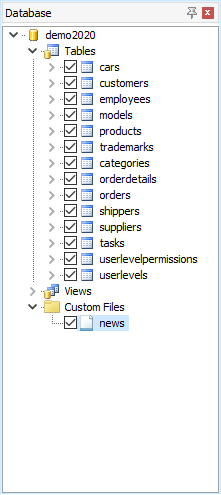
After entering above properties, click OK button to save. The Custom File will show up in the database pane under the Custom Files node:
To edit the Custom File properties, right click the Custom File in the database pane and select Edit File.
To delete a Custom File, right click the Custom File in the database pane and select Delete File.
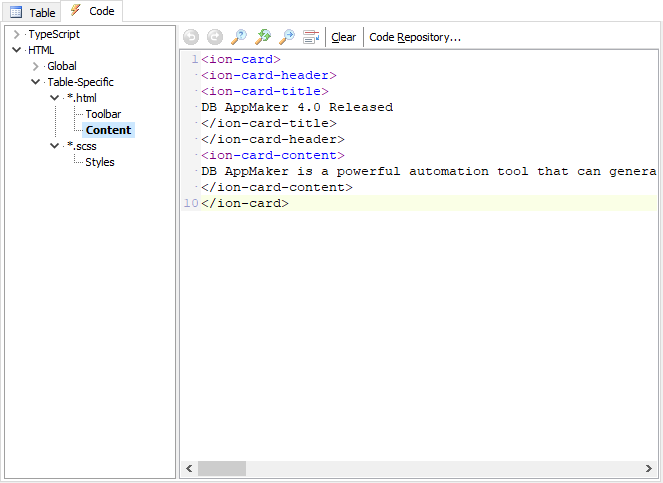
To enter content for the file, select the Custom File in the database pane , then select the Code tab in the right pane.
Scroll down the treeview or collapse the TypeScript node, select the HTML -> Table-Specific -> *.html -> Content node, then you can enter or paste your content in the editor:
Then just save your project, generate, build and run the app as usual.
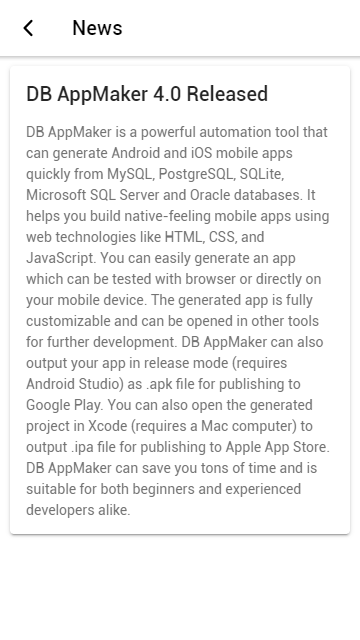
Example - Add a Card in the page to show some news.
<ion-card>
<ion-card-header>
DB AppMaker 4.0 Released
</ion-card-header>
<ion-card-content>
DB AppMaker is a powerful automation tool...
</ion-card-content>
</ion-card>
The result: