
Important Notes
A distribution certificate identifies your team or organization.
If your team already has one and you want to reuse it, see How to share an iOS distribution certificate. Then, skip straight to the Generate your project with DB AppMaker section.
If you don't have a distribution certificate yet, continue on with this section and we'll help you set one up.
Start Xcode.
In Xcode, add your Apple ID (If you haven't done so already). See Add your Apple ID account.
In the menu bar, choose Xcode->Preferences.
In the Accounts page, choose the View Details button.
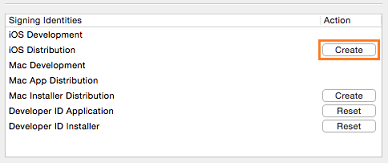
In the account details page, choose the Create button next to the iOS Distribution signing identity.
Choose the Done button to close the account details page.
A distribution provisioning profile lets you submit your app to the store.
On the Member Center page, choose the Certificates, Identifiers & Profiles link.
In the Certificates, Identifiers & Profiles page, choose the Provisioning Profiles link.
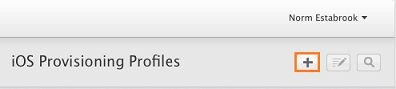
In the Provisioning Profiles page, choose the + button.
In the What type of provisioning profile do you need? page, choose the App Store option, and then choose the Continue button.

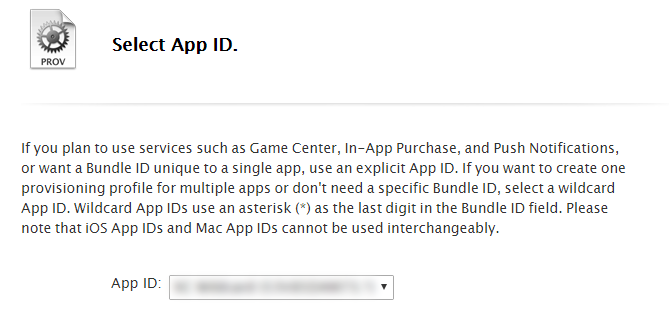
In the Select App ID page, choose the App ID of your app, and then choose the Continue button.
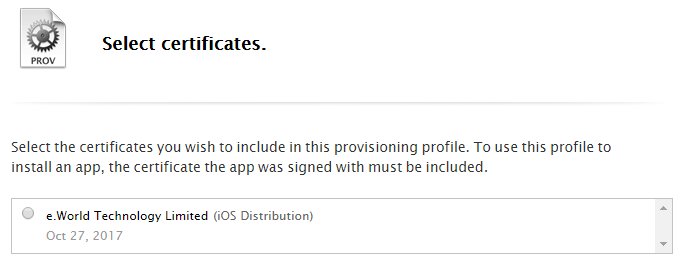
In the Select certificates page, select the distribution certificate that you created earlier in Xcode, and then choose the Continue button.
In the Name this profile and generate page, name your profile, and then choose the Continue button.
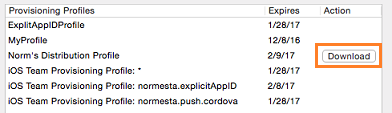
In the Your provisioning profile is ready page, choose the Download button.
Need more detail? See Creating provisioning profiles using Member Center.
Open Xcode.
In the menu bar, choose Xcode->Preferences.
In the Accounts page, choose the View Details button.
In the account details page, choose the Download button next to your provisioning profile's signing identity.
Choose the Done button to close the account details page.

Press the Generate button to generate.
Follow Deploying to a Device -> iOS Devices to build and code sign your app:
Now, go back to Xcode and hit that play button or run ionic cordova run ios --device from the command line to install and launch your app on your iOS device.
Copy the .ipa file into a folder on your Mac.
Use the Application Loader to upload your .ipa file to iTunes.